Camera

OVERVIEW
The camera function offers 2 distinct ways of uploading a photo to SURVEYOR:
-
An inspector is on site and uses the camera function to take a photo directly in SURVEYOR. The photo is immediately uploaded. This method is designed for mobile users where the mobile has a built-in camera.
-
If an inspector has poor signal on site they may take a photo using a default mobile camera app, and use the SURVEYOR camera function later on to browse to the photo and upload it as a file. This method works equally well on desktop, tablet, or mobile.
DATA TAB

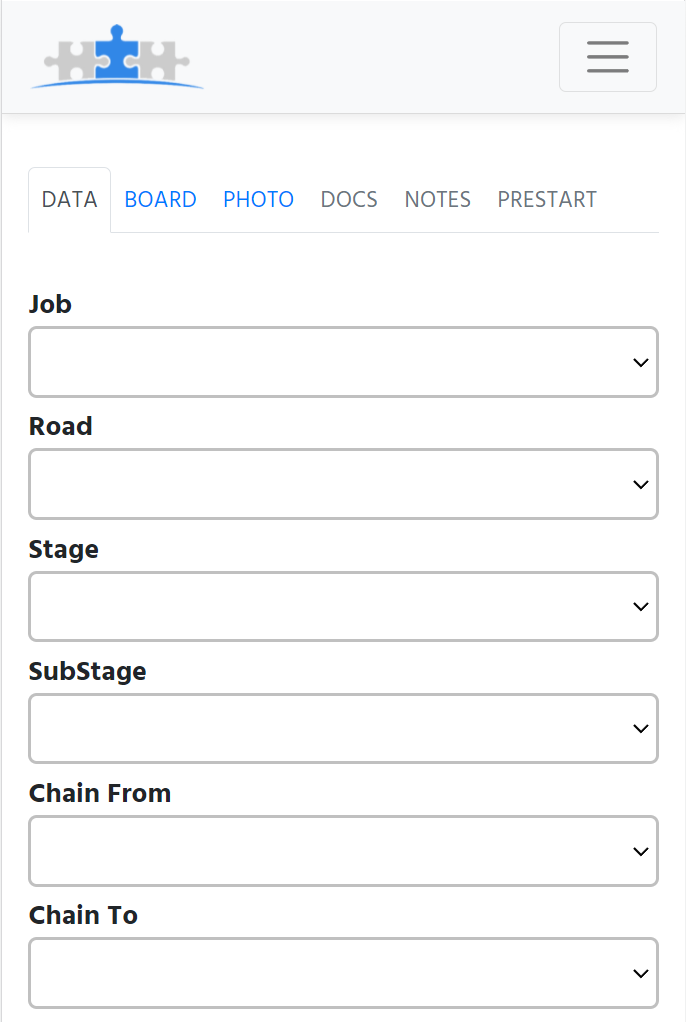
Before a photo is taken various details must be provided. These details will be assigned to the photo that is about to be taken (and can be viewed and edited at a later time if required).
Job
Select the job first - this will be the job where you are currently sat ready to take a photo. This is required and must be selected first so that the related roads can be loaded.
Road
Select the appropriate road. In some versions the word Road is replaced with Zone or some other name. This is required and must be selected next so that the related stages can be loaded.
Stage
Select what stage the job is at. You can pick from the dropdown list, or select Other and type a new stage. This is required.
SubStage
Select or type the substage. This is required.
Chain From
andChain To
Chain might be renamed in your version of SURVEYOR, but the intention is to give a more accurate location. Only Chain From is required and can be numerical eg 10 to indicate 10 metres along the road, or Telegraph Pole 4, again to indicate a location.
BOARD TAB

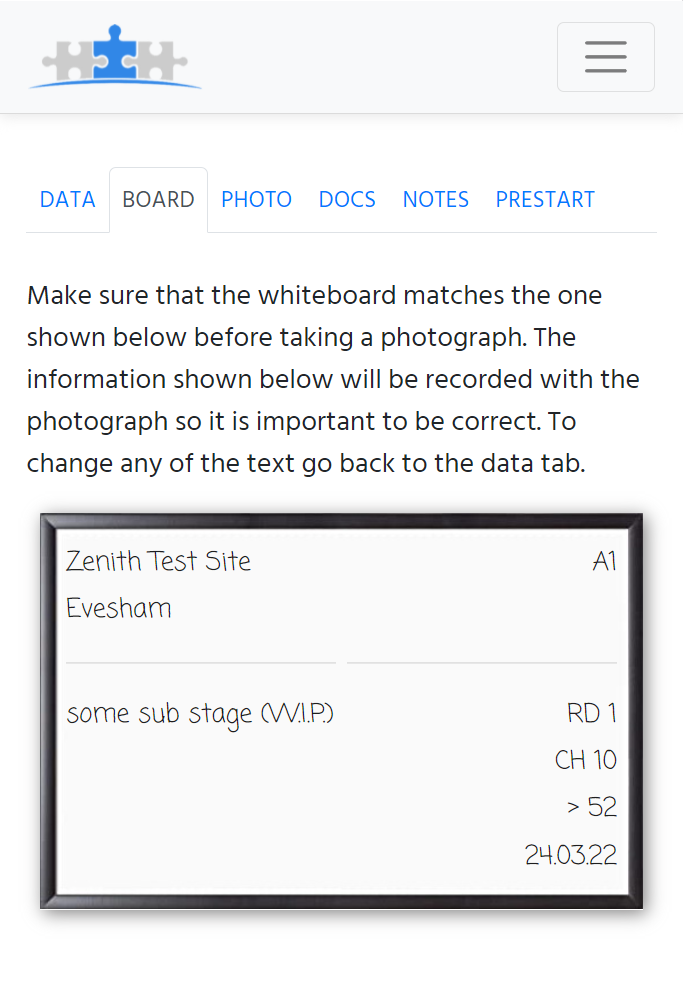
Use the BOARD tab to preview the data you have entered. Some users will write this text onto a physical whiteboard and stand the whiteboard somewhere within the photo. If the BOARD tab is not required then skip straight to the PHOTO tab.
PHOTO TAB

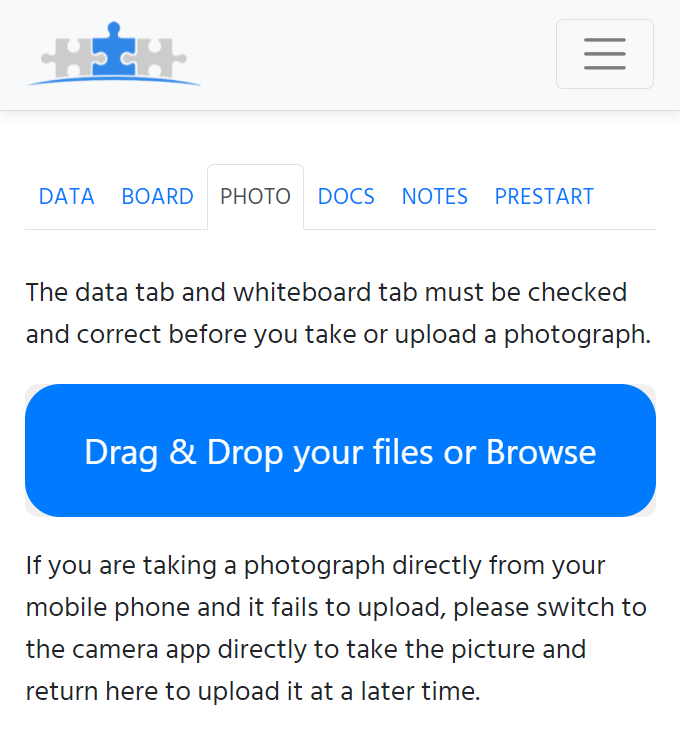
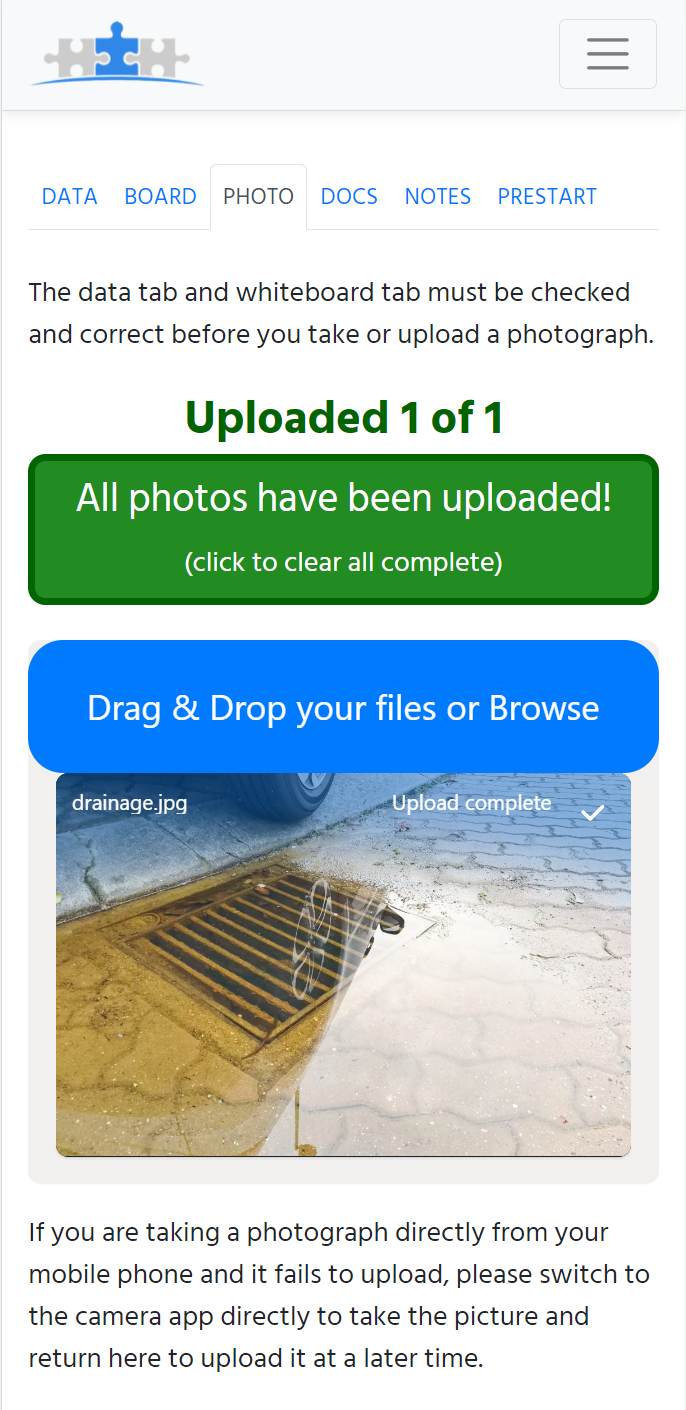
If you are on a laptop or PC and click the blue button, you will be able to browse to existing JPG images and upload them.
If you are on a mobile with a camera you will be given the option to take a photo and to use that photo.

You can take more photos with the same settings, or you can go back to the DATA tab to make adjustments, for example if you have moved to a different location, and continue to take photos until the photo evidence for the inspection is complete. Before leaving the site you should go to the Photos area to check that all photos have successfully uploaded.
DOCS TAB
Use the documents tab to view location plans and specifications to ensure that the photo being taken is of the right thing and in the right place. See the documents page for more details.
NOTES TAB
The notes tab will show all previous comments and issues raised at the site, which might affect what is currently being inspected. See the notes page for more details.
PRESTARTS TAB
Every site can have a number of prestart values, essentially a set of name/value pairs unlimited in scope. Prestarts can be edited by surveyors as well as managers. See the prestarts page for more details.
Note: Only JPG format can be used in SURVEYOR! Some Apple mobile devices use HEIC by default and should be changed back to JPG for improved compatibility.
-
Go to Settings on your iPhone.
-
Tap Camera. You will be shown some options like Formats, Grid, Preserve Settings, and Camera Mode.
-
Tap Formats, and change the format from High Efficiency to Most Compatible.
-
Now all your photos will be automatically saved as JPG instead of HEIC.